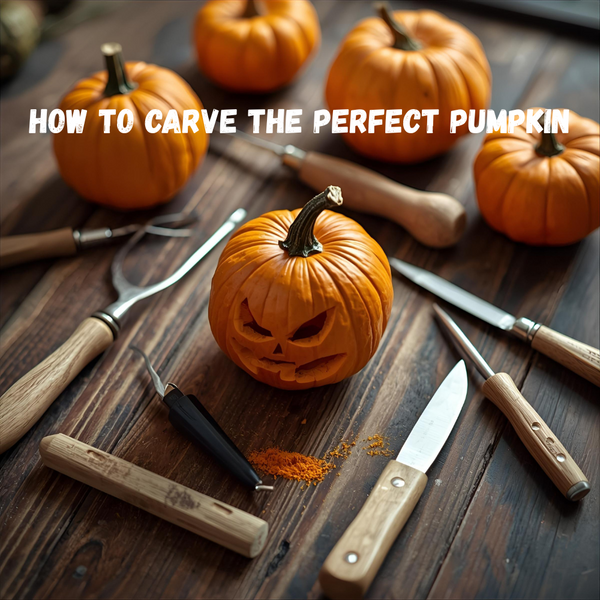
Pumpkin carving is one of the most satisfying parts of Halloween. There’s something magical about turning a simple squash into a glowing lantern that welcomes trick-or-treaters and adds instant charm to your doorstep. With the right pumpkin, tools, and a bit of patience, anyone can create a design that feels both festive and personal.
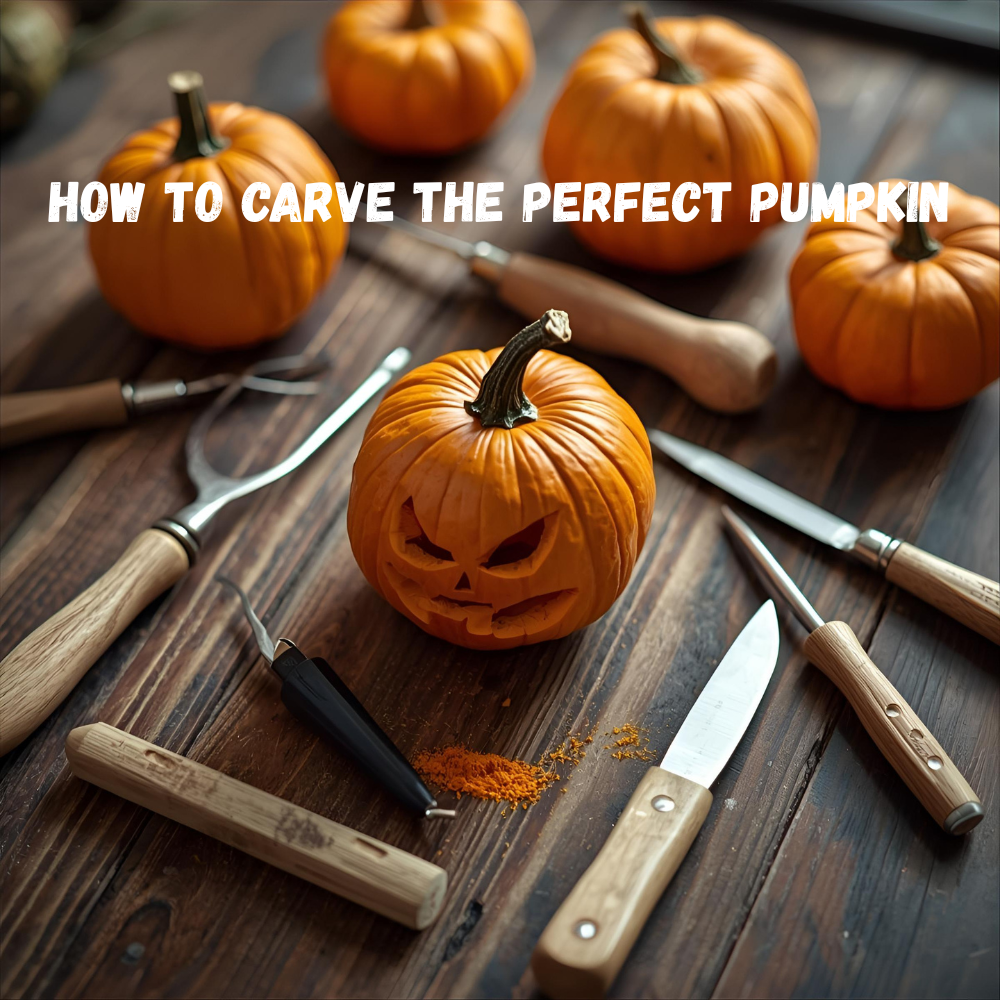
Step 1: Choose the Perfect Pumpkin
Not all pumpkins are created equal. Look for one that:
- Has a flat, sturdy bottom (so it doesn’t wobble off the porch).
- Feels firm with no bruises or soft spots.
- Has a healthy stem (a green stem means it was picked recently).
Medium pumpkins are easier to carve than oversized ones, and they usually last longer too.
(Looking for Halloween décor to match your pumpkin masterpiece? Explore our seasonal picks at easyholidaygifts.com.)
Step 2: Gather Your Tools
While a kitchen knife will do in a pinch, pumpkin-specific carving tools make the process safer and easier. You’ll need:
- A serrated pumpkin saw or small bread knife.
- A sturdy spoon or ice cream scoop for the pulp.
- A marker or stencil for your design.
- A bowl for the seeds — because roasted pumpkin seeds are the unsung hero of carving night.
(At easyholidaygifts.com, we’re building a collection of handy seasonal items that save time during busy holidays.)
Step 3: Prep and Cut the Lid
Cut a circle around the stem at a slight angle so the lid doesn’t fall inside later. Alternatively, slice from the bottom — this makes gutting easier and allows you to place the pumpkin directly over a candle or light.
(Pair your pumpkin with our cozy Halloween décor finds to create the ultimate spooky porch display — browse the seasonal section at easyholidaygifts.com.)
Step 4: Scoop and Clean Thoroughly
This is the messiest step, but also the most important. Scoop out the seeds and stringy pulp until the walls are smooth and about one inch thick. A well-cleaned pumpkin not only glows brighter but also stays fresher longer.
(Need ideas for what to do with those seeds? Stay tuned to the easyholidaygifts.com blog — we’ll be sharing simple holiday recipes soon.)
Step 5: Plan Your Design
Decide if you want spooky, funny, or classic. Draw your design on with a marker or tape on a stencil for precision. Symmetry helps, but imperfections often give jack-o’-lanterns more personality.
(Looking for more Halloween inspiration? We’ve got seasonal gift ideas and décor picks ready at easyholidaygifts.com.)
Step 6: Carve With Care
Start with the smaller cuts and work your way out to the larger sections. Always carve slowly and push pieces out gently. If something breaks, use a toothpick as a “stitch” to hold it in place.
Step 7: Add the Glow
A simple tea light works, but LED candles are safer, last longer, and won’t leave smoke marks inside your pumpkin. For an extra festive touch, drop in a colored glow stick or small string lights.
(You’ll find lighting and seasonal accents to complement your pumpkins in our Halloween collection at easyholidaygifts.com.)
Step 8: Keep Your Pumpkin Fresh Longer
Carved pumpkins don’t last forever — once you cut into them, the edges dry out and mold starts to creep in. To slow this down, you can “seal” the cut edges. The easiest way is to gently rub a little Vaseline (petroleum jelly) or even plain cooking oil on the exposed cuts. This keeps the moisture in and helps your pumpkin look fresh for a few extra days. Another option is to lightly spray the inside with a mix of water and a little bleach — this kills bacteria and mold before they spread.
Final Word
Carving the perfect pumpkin isn’t about creating a flawless design — it’s about enjoying a tradition that brings a little magic to the season. Whether your jack-o’-lantern ends up spooky, silly, or somewhere in between, it will make Halloween night brighter.
(And if you’re looking to complete your festive setup, visit easyholidaygifts.com — your go-to seasonal shop for décor, gifts, and holiday inspiration.)